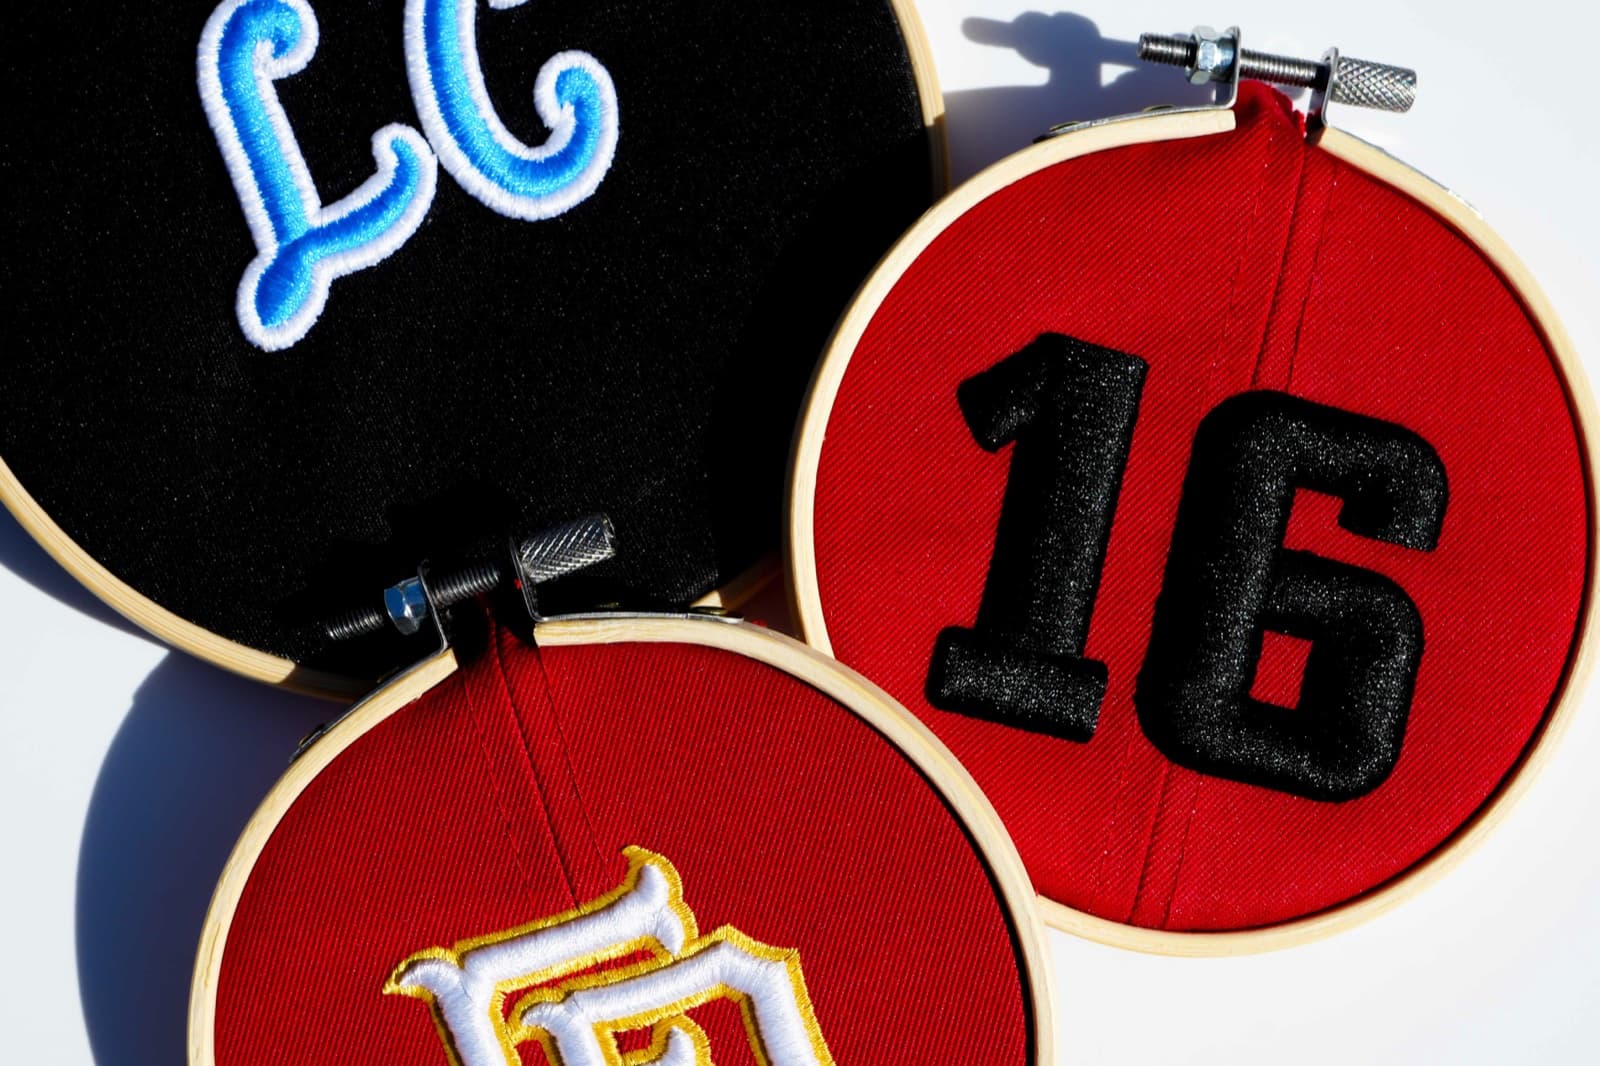
3D puff creates a raised, dimensional effect by stitching over foam placed on top of the garment. Done right, it looks premium and survives washing; done wrong, the foam collapses and the stitches pull through. Bold, simple designs work; fine detail and small text do not.
3D puff embroidery creates a raised, dimensional effect by stitching over foam placed on top of the garment. Done right, it looks premium and holds up to washing. Done wrong, the foam collapses, the stitches pull through, and the design looks worse than flat embroidery would have.
The first thing to understand is that not every design works in puff. Bold, chunky letterforms and simple shapes translate beautifully. Fine detail, serifs, and small text do not — the foam creates a wobble in the stitch line that makes thin elements look sloppy. If your logo has fine lines or small text, we'll tell you upfront and suggest what can be puffed vs. what should stay flat.
Foam thickness matters. Standard 3mm EVA foam works for most caps. For a more pronounced effect, 6mm is available, but it requires significantly higher stitch density to lock down the foam edges cleanly. We test both options when a design is borderline.
The digitizing approach for puff is completely different from flat embroidery. You need extra underlay, higher density in the coverage stitches, and a very precise satin border that cuts through the foam cleanly. Path order matters too — you want to lock down the foam edges before stitching the fill, or the foam will shift during the run.
Machine speed is another variable. We recommend dropping to 600-700 SPM for puff runs, especially on older machines. Higher speeds increase vibration and can cause the foam to shift mid-run.
When you order puff from us, we test on actual foam on an actual cap blank. We adjust the density, check the foam cutoff, and send you a scanned sew-out proof. You'll know exactly what your customers are getting before you run a production batch.